Knowing how to install marine battery terminals is really important. I have seen many people become very frustrated while doing this by themselves for the first time.
I won’t make fun of them, but seriously, those situations are kind of “MEH.”
And installing them? HARD!
Okay, wait! I am not here to scare you. I’m here as a helper who discusses battery-related topics, offers tips, and more.
In this article, you’ll learn the steps to installing marine battery terminals easily. I will try to cover each term properly, from the tools you need to connect the terminals safely to maintenance.
Let’s start with the definition if you’re ready to get into the content.
What Is a Terminal In a Battery and How Does It Work?
Before I explain what a terminal is, I bet you have seen it before. You probably don’t know it’s called a terminal.
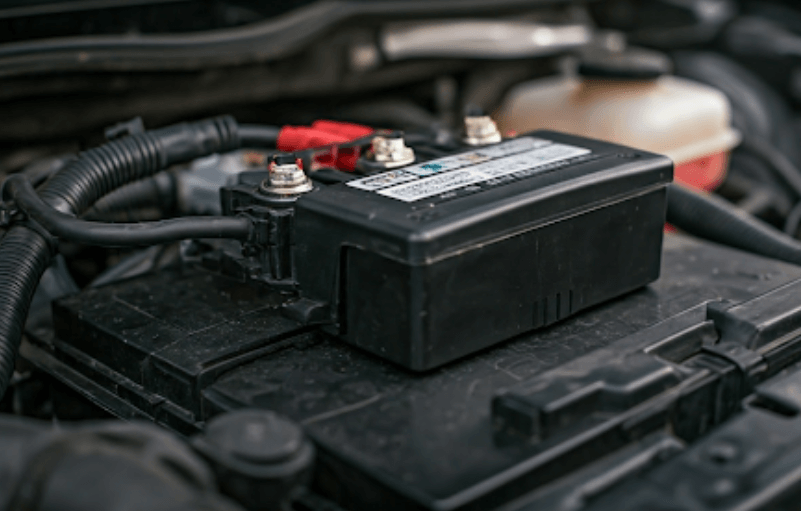
A battery terminal is a key part of any battery. It’s the connection point that allows electricity to flow to your electrical system. Without it, your battery wouldn’t be able to power anything.
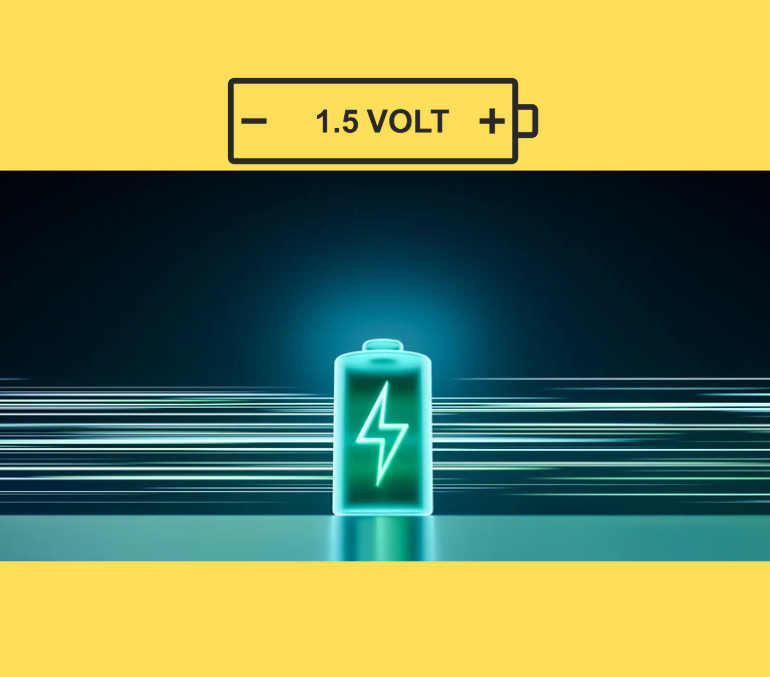
You’ll see there are two terminals, called positive and negative. Instead of the words “positive” and “negative,” you’ll usually see the symbols + and –.
One more sign that will help you understand which terminals are positive and negative is the cable color. The positive terminal cable is red, and the negative terminal cable is black.
Now, if we talk about how it works, then you might have read it in your physics book. The positive terminal sends electricity out to power your boat’s equipment. The negative terminal completes the circuit that returns the electricity to the battery.
Simply saying, the terminals are what keep your boat powered and running. That’s how they function, clear? Let’s now learn how many types are there to understand marine battery terminals more deeply.
How Many Types of Marine Battery Terminals Are There?
So, earlier, I was mostly talking about battery terminals in general. I didn’t say “marine” too much because that part was just to clarify the basics for you.
Now, let’s focus on marine battery terminals. Let me tell you, battery terminals are all the same. The type, materials, size, etc., make terminals different in each object.
You’ll see two main types of marine battery terminals. Let me explain each one in extremely short:
1. Stud Terminals
I know these two types are going to make your brain hang. So, I am writing to acknowledge you—that’s it.
However, the stud is the first type of marine battery dual terminal.
These terminals have small bolts sticking out of the battery. You attach the cables to these bolts using nuts to secure them tightly. People often use them in heavy-duty boats or systems with more power needs.
2. Post Terminals
These terminals look like round posts coming out of the battery. You connect the cables to these posts using clamps. They’re easier to use and are great for smaller boats or setups.
If you think this was beyond your understanding, then forget it. Let’s directly now get into the step from here.
Step-by-Step Guide to Installing Marine Battery Terminals
I don’t think these steps are going to be easy. There is much work to do, so many tools are needed, and what matters the most is that you understand what I am going to write next.
Well, I am talking about the steps. If you don’t follow my steps exactly, it can make a mess, and I really don’t want you to lose track.
So, you should first read these steps two times. Make sure you understand what tools I am talking about and how to use them properly. Visualize first, and then get into it.
Tools and materials needed for installation
Gather the necessary tools and materials before starting the installation process. I am also writing about what tool is needed for which task:
| Tools We Will Use | Description |
| Wrench Set | To loosen and tighten nuts and bolts. |
| Wire Brush | This is for cleaning battery posts and terminals from corrosion. |
| Marine-Grade Battery Terminals | Choose the correct type and size for your battery. |
| Marine Battery Terminal Covers | Apply to the terminals after installation. |
| Cable Lugs | Needed to make sure the lugs matched the wire gauge and terminal type. |
| Electrical Tape | To insulate exposed wire connections. |
Do you have these tools now with you? Please keep them properly beside you and follow these steps:
Part 1: How To Install Marine Battery:
1) The first thing you have to do is turn off all electrical equipment on the boat to prevent any electrical hazards. Check it twice.
2) Use a wire brush to remove any corrosion or debris from the marine battery terminal block.
3) Measure the distance between the battery and the electrical components to determine the appropriate cable length.
4) Now, cut the battery cables to the required length. I advise you to cut a bit longer for better flexibility while connecting the terminals.
5) Strip approximately half an inch of insulation from both ends of each cable to expose the bare wire.
6) Carefully slide a piece of heat shrink tubing onto each cable before attaching the terminals.
Part 2: How To Attach Terminals To Cable
7) In the second part of our guide, you insert the stripped end of the cable into the barrel of the terminal lug.
8) You now have to use a crimping tool to securely compress the terminal lug onto the cable.
9) This time, position the heat shrink tubing over the crimped area and apply heat using a heat gun or lighter. Keep heating until it shrinks tightly around the connection.
Part 3: How To Connect Cables to Battery:
10) This is going to be super easy now. Begin by connecting the positive (+) cable to the battery’s positive terminal. Keep it tight.
11) Next, connect the negative (-) cable to the battery’s negative terminal. Again, ensure a tight connection.
Part 4: Final Checks:
12) You have to verify that all connections are tight and free from any loose strands of wire.
13) Turn on the boat’s electrical equipment to confirm that power is being supplied correctly.
14) Check for any signs of poor connections. Can you see flickering lights or malfunctioning equipment?
If not, then fine. If yes, you definitely couldn’t properly tighten the terminals. So, check it again and follow my steps from the start.
For a more practical guide, you can see this video: How to install marine grade battery terminals.
Conclusion
Oh, what a long process that was, right? To be honest, if you try the process twice more, you will feel that the process is not much longer.
You took your time because this was your first time. I hope you will teach others how to install the battery terminals in marine vehicles next time.
That’s it. We will continue to write more important step-by-step guides every day, so keep checking us.
Frequently Asked Questions:
Can I use marine battery terminals in my car
Ans: Absolutely not recommended. Marine and car battery terminals are different in many terms. So, I would suggest you not do this.
How to clean marine battery terminals
Ans: To do this, you’ll need a few tools. But with the wire brush, you can easily clean the battery terminals. Turn off the electric supplies and then open the desk.
Then, use a wire brush or screwdrivers to clean deeply.


