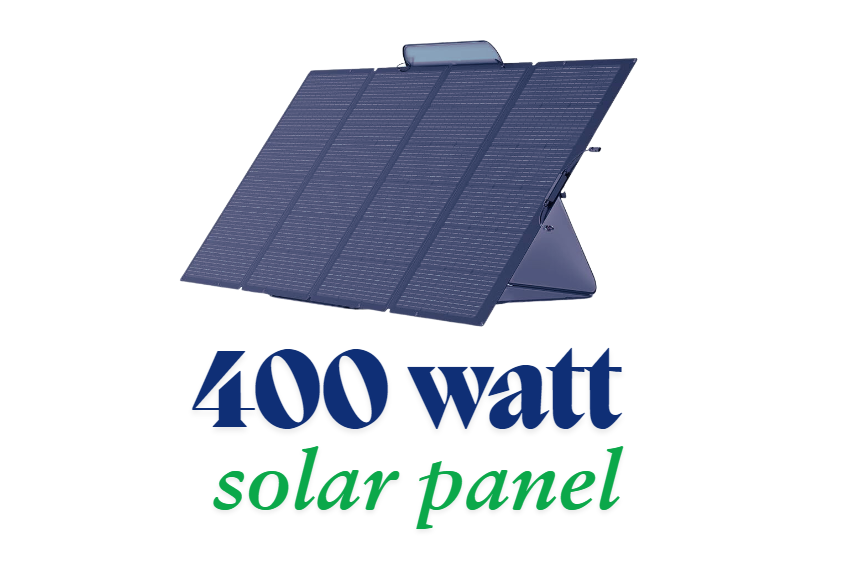
As the world shifts to renewable energy sources, solar energy is becoming a top choice for homeowners and businesses to reduce their carbon footprint and energy bills. Among the various solar panel options available, 400-watt solar panels have gained a lot of popularity due to their high power output and efficiency.
This article can be your best guide to 400-watt solar panels with their benefits, prices, Best Top 5 400 Watt Solar Panels and installation tips.
What is a 400 watt solar panel?
A 400-watt solar panel is a photovoltaic (PV) panel capable of producing 400 watts of electricity under optimal conditions. This power output makes it ideal for both residential and small-scale commercial applications.
Its power rating is higher than standard panels like 300-watt or 350-watt models, allowing you to produce more electricity with fewer panels, making it a space-efficient solution.
These panels are particularly suitable for those looking to build off-grid systems, reduce their electricity bills or supplement their existing power setup with renewable energy.
How to Install a 400-Watt Solar Panel
Step 1: Plan Your Installation
Before you begin, it’s essential to plan out your solar installation. Determine how many 400-watt solar panels you need based on your energy consumption. Check your electricity bills to see how many kilowatt-hours (kWh) you use per month. For example, if you use 800 kWh per month, you may need around 10-12 panels, depending on the amount of sunlight your location receives.
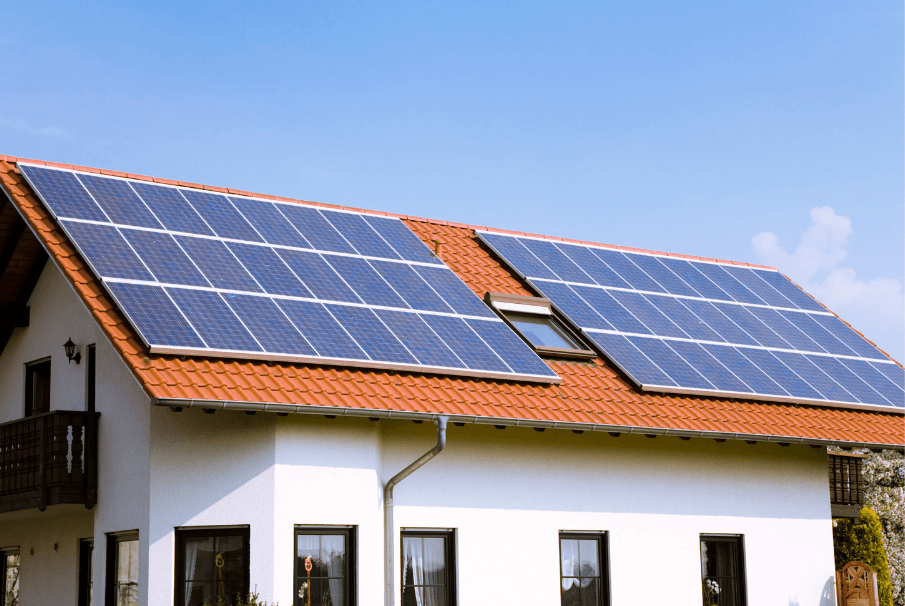
Next, choose a location for your solar panel. A south-facing roof or an open ground area with plenty of direct sunlight is ideal. Make sure there are no obstructions like trees or buildings that could cast shadows on the panels.
Step 2: Gather Your Materials and Tools
You will need a few materials and tools for the installation, including:
- 400-watt solar panels
- Mounting hardware (rails, brackets)
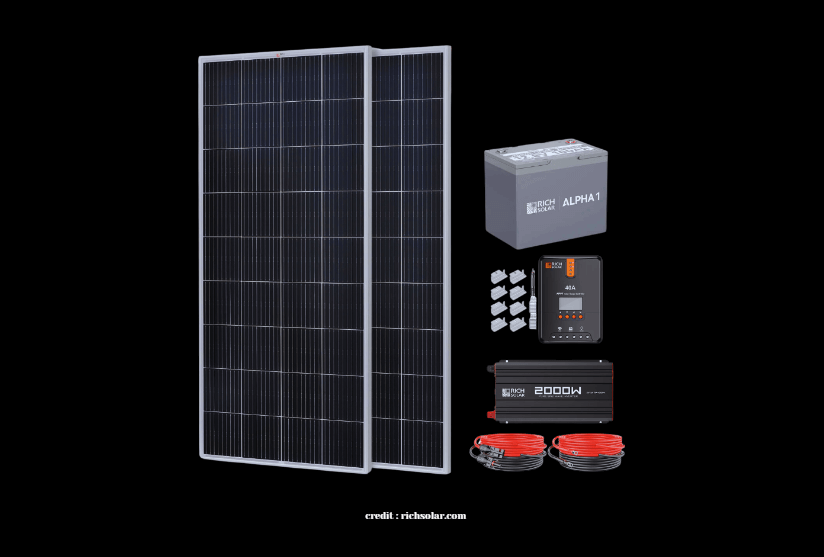
- Inverter (string or microinverters)
- DC and AC disconnect switches
- Cables and connectors (MC4 connectors)
- Drill, wrenches, and safety gear
Make sure to have these ready before starting the installation to avoid delays.
Step 3: Install the Mounting System
The mounting system is what holds your solar panel in place. Whether you are installing the panel on a roof or on the ground, follow these steps:
Mark the Mounting Points: Use a measuring tape to mark where the brackets will go. Make sure to align them with roof rafters for stability.
Install the Mounting Brackets: Drill holes into the roof rafters or ground posts, then secure the brackets using bolts.
Attach the Rails: Secure the mounting rails to the brackets, making sure they are level. This will provide a sturdy base for the solar panel.
Step 4: Mount the Solar Panel
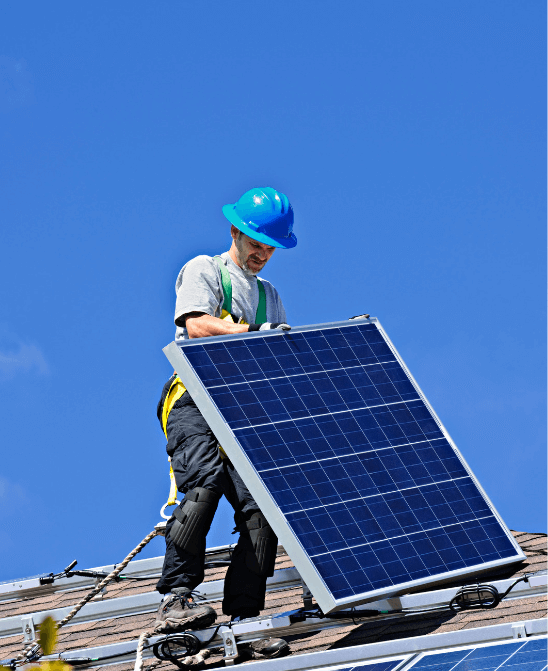
With the mounting system in place, you can now secure your 400-watt solar panel.
Position the Panel: Lay the panel onto the rails, ensuring that it is centered and properly aligned.
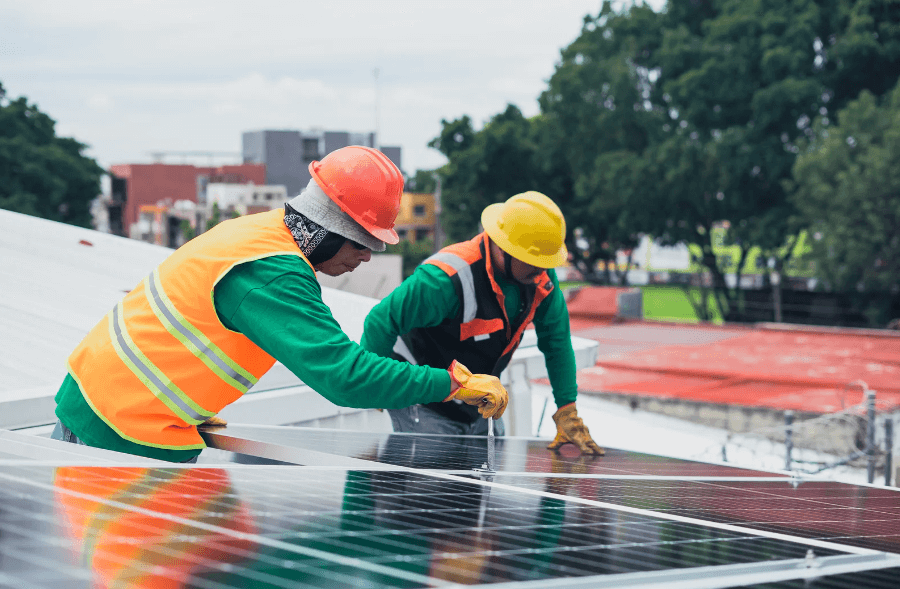
Secure the Panel: Use clamps or brackets to attach the panel to the mounting rails. Make sure it is securely fastened to withstand wind and weather conditions.
Step 5: Connect the Wiring
Proper wiring is crucial for the safe operation of your solar panel. Follow these steps:
Connect the Panels: If you have multiple panels, connect them in series or parallel using MC4 connectors. In a series connection, the positive terminal of one panel connects to the negative of the next.
Wire to the Inverter: Run the solar panel wires to the inverter. The inverter converts the DC power produced by the panel into AC power that your home can use.
Install Disconnect Switches: Add a DC disconnect switch between the panels and inverter, and an AC disconnect switch between the inverter and your main electrical panel.
Step 6: Connect to Your Home’s Electrical System
After the wiring is complete, connect the inverter to your home’s electrical panel. This step is crucial for feeding the solar-generated power into your home’s electrical system. If you’re not comfortable working with electrical wiring, it’s best to hire a licensed electrician for this part.
Step 7: Test and Activate the System
Once everything is connected, turn on the DC disconnect switch, followed by the inverter, and then the AC disconnect switch. Monitor the inverter’s display or app to ensure that the system is generating power properly. It’s a good idea to schedule an inspection with your local utility company if you plan to connect your system to the grid.
Is buying a 400-watt solar panel right for you?
Determining whether a 400-watt solar panel is the right choice for your home or business depends on several factors, such as your energy needs, space availability, budget, and location.
Because one of the primary reasons to choose a 400-watt solar panel is the panel’s ability to produce more power than lower-watt alternatives. This makes it ideal for households or small businesses with moderate to high energy consumption.
For greater power output, a single 400-watt panel can produce about 1.2 to 2 kWh per day, depending on the amount of sunlight in your area. This means it is easier to meet higher energy demands with fewer panels.
Another important factor to consider is the amount of space you have available for installation. 400-watt panels are typically larger than their lower-wattage counterparts, meaning they take up more space but produce more power.
Limited Roof Space If your roof space is limited, 400-watt panels may be ideal because they allow you to generate more power with fewer panels. It is particularly useful for urban houses or buildings with small roofs.
In short, 400-watt panels are a great option if you want to maximize power output without using up too much roof space.
FAQ
How much electricity can a 400-watt solar panel produce per day?
A 400-watt solar panel can produce between 1.2 kWh and 2.8 kWh of electricity per day, depending on the location and the number of peak sunlight hours. For example, in an area with 5 peak sunlight hours per day, it would generate around 2 kWh (400 watts x 5 hours = 2,000 watt-hours or 2 kWh).
How many 400-watt solar panels do I need for my home?
The number of panels you need depends on your energy consumption. For example, if your home uses 800 kWh per month, you would need about 10-12 panels, assuming 5 peak sunlight hours per day. A professional installer can provide a more accurate assessment based on your specific needs and location.
What is the lifespan of a 400-watt solar panel?
Most 400-watt solar panels come with a 25-year performance warranty, which means they will produce at least 80% of their original output after 25 years. The overall lifespan can extend beyond 30 years with proper maintenance.
Can I connect a 400-watt solar panel directly to a 12V battery?
While it’s possible to connect a 400-watt solar panel to a 12V battery, it’s crucial to use a solar charge controller to prevent overcharging and damage to the battery. A MPPT charge controller is recommended for optimal charging efficiency.


